Hide the cables…
Back to: Installing a Parrot Interactive LED on a surface
Wires everywhere…
Installing the LED solution is simple and easy and should not take more than one hour. But the biggest headache is the cables and wires everywhere. To complete the installation and ensure a neat environment we make use of either cable trunk or half moon trunk depending on the requirement. As a standard we use standard white cable trunk.
If it is just the LED that you installing you can conceal the cable nicely behind the LED with the user of cable ties. Should you install more that the LED you can make use of the space in between the brackets o9n the wall and install two or three short pieces of cable trunk in which you can conceal the cables.
The cable trunk is normally mounted with 6mm Fisher plugs and screws for which you will use your 6mm drill bit. We very seldom use double sided tape as over time it will eventually peel off with the paint on the surface.
In the event that your are installing on Re Enforced Drywall, you may use the black Drywall screws to mount the cable trunk.
Cable trunk can be installed in any direction or manner that would give the solution a nice look. But should you do corners, please make use of a miter box so that you can properly cut the angles needed. Refer to picture:
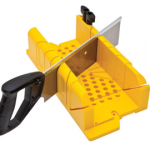
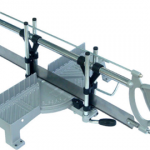
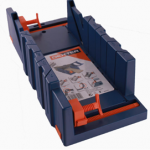
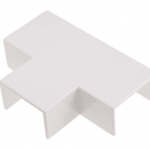
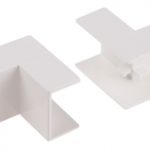
Or you may use (Purchase these separately from a hardware store) Corner caps:
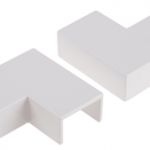
Connections that could require cable management:
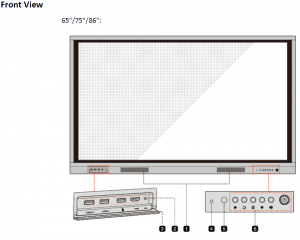
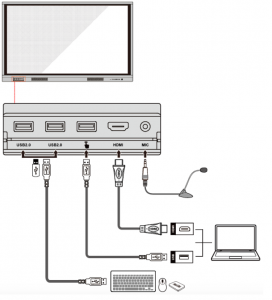
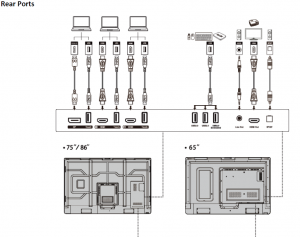
To connect the LED to power and other devices, please take note of the following ports and pairing of ports that work together to give external devices Visual and Touch abilities. This will also give you an idea of how many cables you may need to account for:

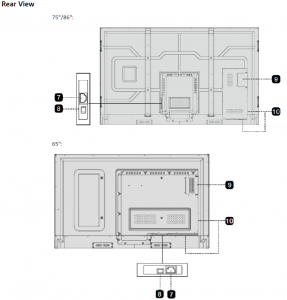
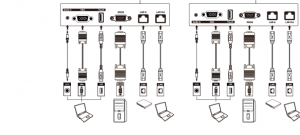
In addition to the above power and front connections below are the component connection ports:
**For more information refer to the User manual that you have downloaded in the previous section
